It's been so long since my last post and it's been a long time since I've truly felt the urge to be creative. I don't know if it was the rain or the company, but I felt the need for speed, I mean the need for a glue gun. Loaded up the car, headed to Hobby Lobby, and went to town. Spent $80 on materials and started crafting an idea. Get it, crafting...
After I got home I had to lay everything out. I have to see everything so I don't forget to use the unique things that make my projects what they are.
The always important glue gun, never craft without one.
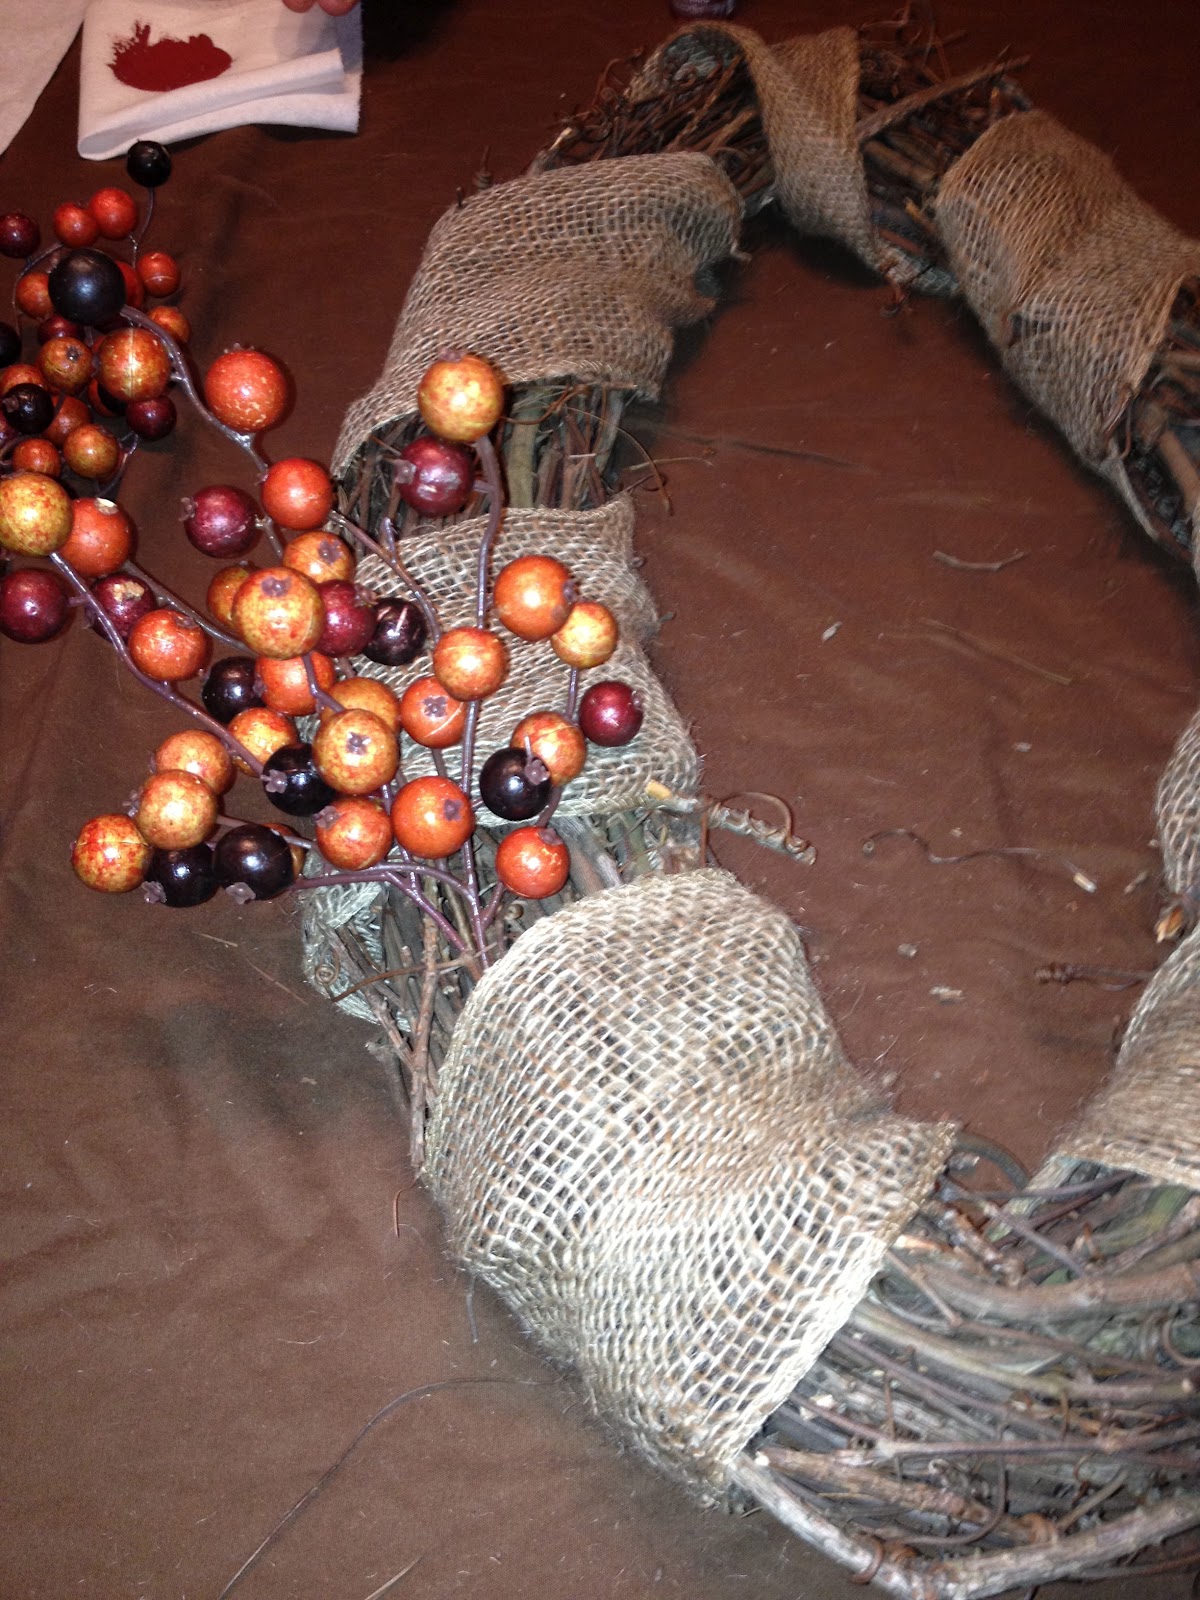
After you lay everything out, start with a ribbon. I purchased 3 colors but only ended up using the burlap. I started at the top and worked my way around making sure that both sides looked even. Please not that I did not use your everyday round wreath. I wanted to do something different, something you don't see often...Jenny Peel, used this same style for a Christmas wreath and it was stunning! That's the beauty of crafting, there are no rules to it!!
By the time you get it around the wreath you'll need to tuck it within the sticks to help hold it's place.
I like to add some spots of hot glue to help keep it's place, and no one will ever see it since it's on the back of the wreath.
Once you have the wreath covered in ribbon like you want it, start playing with positions of your decor. I like to mix and match items to give an eclectic look. Fake floral have stems that are perfect for wreath making. Use the stem to latch onto a branch to hold in place, add a little glue and bam it's not going anywhere.
These circular twigs were behind the maroon flowers I bought. They became a perfect backdrop for the berries. I also used the pictured leaves to add texture with the berries and twigs.

As you can see, the circular twigs, acorn, hidden leaves, and some last minute feathers really add to the right side of the wreath.
The flowers worked out great!! They were easy to rip from the stem they came on and by positioning them with a muted orange pumpkin, it really draws out all the fall colors. The mini berries are from the large stem pictured below. I just ripped them from the vine.

The letter S is for the clients last name and we used a deep red to help carry the colors all the way to the other side.
Personalizing your wreath is simple!! Add the letter of your last name in front of a big bow
and you have an instant personalized wreath. I finished it off by combining like colored pops of decor that anyone who walks by this door will be sure to stop...
I am in love with the finished product! It doesn't scream Halloween, but it does say we ARE ready for fall. The little witches hat is for the S when it does get closer to Halloween. Slip it on and it's now a fun dressing for a true spirited wreath. It also helps to use colors that will transition well into other seasons. This will last until December. It's [perfect for October and November and with a few little updates, it's a Thanksgiving wreath.
Let me know your thoughts.


2 comments:
This is awesome! Glad you posted a link to your blog so I can check out your gorgeous work :)
I love it.
Post a Comment